Field Notes · Painting Guides · May 21, 2026 · 6 min read
Before and After: The Anatomy of a Perfect Exterior Repaint
Here is something that surprises most homeowners the first time they watch a professional [exterior paint job](/services/exterior): most of the work is invisibl...
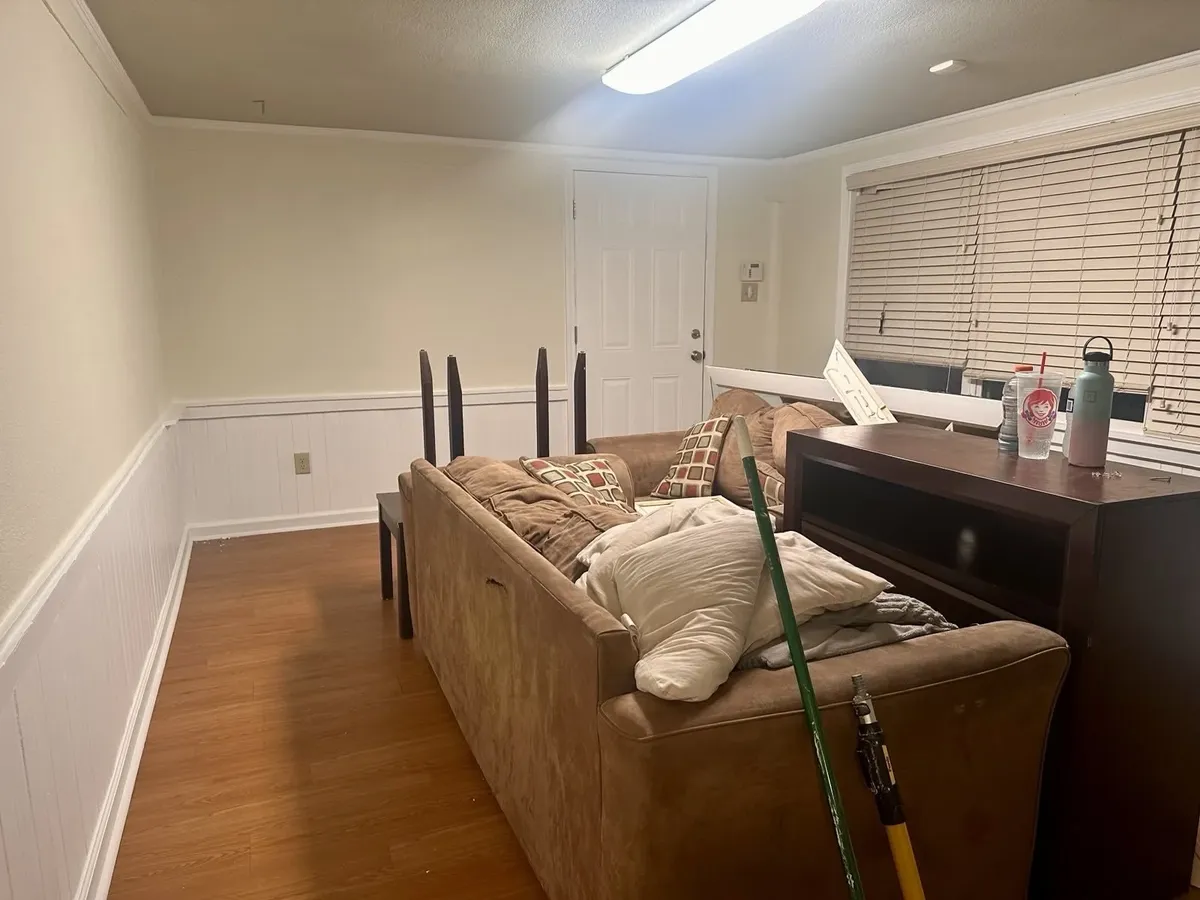
Here is something that surprises most homeowners the first time they watch a professional exterior paint job [blocked]: most of the work is invisible in the finished result.
The surfaces that look clean and sharp in the after photos — the ones that look like they were always supposed to look that way — got there through a sequence of steps that have nothing to do with the paint itself. Preparation is the job. Paint is just the finish.
Here is every step of a Beams & Dreams exterior repaint, in order, and why each one matters.
Step 1 — The Initial Consultation and Fixed Bid
Before a single tool comes out of the truck, we walk the property together.
We are looking at every surface we will paint — checking the siding for soft spots, looking at the caulk around every window and door frame, checking trim boards for rot or splitting, looking at how many layers of paint are already on the house and whether they are sound or failing.
At the end of that walkthrough, you get a fixed bid in writing. One number. That is what you pay. No surprises after we start because we have seen everything before we price it.
We also confirm the color selections at this stage. Color should be decided before the crew shows up — not on the morning of day one.
Step 2 — Pressure Washing and Surface Cleaning
The job starts with water, not paint.
Every exterior surface gets pressure washed to remove dirt, dust, mildew, pollen, and any loose or chalky paint material that is sitting on the surface. Mildew-stained areas get treated with a mildewcide solution before washing.
This step is not optional and it is not cosmetic. Paint applied over a contaminated or chalky surface has poor adhesion from day one. The prep work that determines how long a paint job lasts starts here.
After pressure washing, the house dries completely before we move to the next step. Applying primer or paint to wet wood traps moisture and causes early failure.
Step 3 — Scraping and Sanding Loose Paint
Once the surface is dry, we go over every inch of it looking for paint that is loose, peeling, cracking, or alligatoring.
Anywhere the paint film has lost its bond with the substrate, it comes off. We use hand scrapers and sanding blocks to take it back to a sound surface — not just the visible flakes, but the edges around them that feel firm but are not fully bonded.
This is the step that separates a paint job that lasts from one that starts peeling again in two years. Painting over loose paint does not fix it. It hides it temporarily and then both layers fail at once.
Step 4 — Caulking Every Gap and Seam
Caulk is one of the most important things in the exterior of a house, and it is almost completely invisible when it is done right.
Every gap at window frames, door frames, trim joints, corner boards, and anywhere siding meets a different material gets inspected. Dried, cracked, or missing caulk gets removed and replaced with a high-quality paintable exterior caulk.
The reason this matters: water follows gravity through the smallest gap. A gap at a window frame sends water into the wall cavity. Water in the wall cavity causes wood rot, mold, insulation damage, and eventually structural problems that no paint job can fix. Re-caulking during every exterior repaint is the cheapest insurance against water damage that exists.
Step 5 — Spot Priming Bare Wood
Anywhere we have scraped back to bare wood — and on older homes there can be a lot of those spots — an oil-based spot primer goes on before any finish coat.
Bare wood without primer absorbs moisture from the air unevenly. Those spots swell and contract differently than the primed surfaces around them, and paint applied directly over bare wood without primer fails first at those spots. You can see it happen on older houses that have been repainted without proper prep — the paint peels in specific spots that follow the grain of the wood or the locations of old scrape marks.
Oil-based primer on bare wood seals the substrate and gives the finish coat a consistent surface to bond to.
Step 6 — Full Prime Coat Where Needed
On surfaces with significant surface changes — newly replaced wood, repaired sections, or surfaces coming off a very different color — a full prime coat is applied before the finish coats.
A primer coat also matters on surfaces that have been cleaned back to chalk or bare substrate. On a house that has not been repainted in 10 or 15 years, a prime coat before finish paint is what makes the finish coat look clean and even rather than blotchy or thin.
Not every house needs a full prime coat everywhere. But every house needs spot priming at minimum, and the surfaces that need a full prime coat get one.
Step 7 — First Finish Coat
The first finish coat goes on after primer is cured. This is where the color appears for the first time.
The finish coat is applied with the right tool for each surface — brush on trim profiles and detail work, roller and back-brush on flat siding surfaces. On larger flat surfaces, spraying is sometimes used with careful masking, but every sprayed surface gets back-brushed to work the paint into the surface properly.
One finish coat over a properly primed surface gives about 80% of the final coverage and color. Two coats give full coverage and the thickness the paint film needs to perform.
Step 8 — Second Finish Coat
The second finish coat goes on after the first has dried to the manufacturer's specified recoat time.
Two coats of finish is not optional for us. It is what the paint manufacturer specifies to achieve the stated performance — the UV resistance, the washability, the durability — on the can. One coat is thinner, more porous, and fails sooner. Two coats applied properly give you the full paint film and the full expected lifespan.
Step 9 — Final Walkthrough with the Homeowner
When the job is done, we walk every surface with you.
We are looking for holidays — spots the painter missed. We are checking trim lines and cut-in edges. We are looking at every surface in the same critical way you will be looking at it when we leave.
This is the Good-as-Gold Guarantee in practice: we do not call the job done until you sign off. If something is not right, we fix it before we leave — not on a callback next week, not after a discussion about whether it is our responsibility. We fix it.
A paint job done this way does not need touch-ups the following spring. It is done.
Contact us to schedule a walkthrough and get a fixed bid for your exterior. [blocked] We will show you exactly what the job involves before it starts.
Keep reading
Cheap vs. Expensive Paint: The Truth Behind Home Depot, Sherwin-Williams, and Benjamin Moore
Why does one gallon of paint cost $25 and another cost $90? It comes down to coverage, durability, finish, washability, and VOCs — and the real cost of cheap paint shows up two years later.
Why is Interior and Exterior House Painting so Expensive?
An honest, line-by-line breakdown of what your painting bid is actually paying for — prep, expertise, premium materials, fair labor, insurance, and the overhead of running a business that shows up.